

Istio Routing Basics


This post was originally written by Mete Atamel. Reposted with permission.
When learning a new technology like Istio, it’s always a good idea to take a look at sample apps. Istio repo has a few sample apps but they fall short in various ways. BookInfo is covered in the docs and it is a good first step. However, it is too verbose with too many services for me and the docs seem to focus on managing the BookInfo app, rather than building it from ground up. There’s a smaller helloworld sample but it’s more about autoscaling than anything else.
In this post, I’d like to get to the basics and show you what it takes to build an Istio enabled ‘HelloWorld’ app from ground up. One thing to keep in mind is that Istio only manages the traffic of your app. The app lifecycle is managed by the underlying platform, Kubernetes in this case. Therefore, you need to understand containers and Kubernetes basics and you need to know about Istio Routing primitives such as Gateway, VirtualService, DestinationRuleupfront. I’m assuming that most people know containers and Kubernetes basics at this point. I will focus on Istio Routing instead in this post.
Basic Steps
These are roughly the steps you need to follow to get an Istio enabled ‘HelloWorld’ app:
- Create a Kubernetes cluster and install Istio with automatic sidecar injection.
- Create a HelloWorld app in your language of choice, create a Docker image out of it and push it to a public image repository.
- Create Kubernetes Deployment and Service for your container.
- Create a Gateway to enable HTTP(S) traffic to your cluster.
- Create a VirtualService to expose Kubernetes Service via Gateway.
- (Optional) If you want to create multiple versions of your app, create a DestinationRule to define subsets that you can refer from the VirtualService.
- (Optional) If you want to call external services outside your service mesh, create a ServiceEntry.
I won’t cover steps 1 and 2 in this post because they are not Istio specific. If you need help with these steps, you can take a look at the codelabs I mention at the end of this post. Step 3 is not Istio specific either but it’s kind of prerequisite to everything else, so let’s start with that.
Deployment and Service
As I mentioned, the app lifecycle is managed by Kubernetes. Therefore, you need to start with creating a Kubernetes Deployment and Service. In my case, I have a containerized ASP.NET Core app whose image I already pushed to Google Container Registry. Let’s start with creating an aspnetcore.yaml file:
Create the deployment and service:
$ kubectl apply -f aspnetcore.yaml
service "aspnetcore-service" created
deployment.extensions "aspnetcore-v1" created
Nothing Istio specific so far.
Gateway
We can now start looking into Istio Routing. First, we need to enable HTTP/HTTPS traffic to our service mesh. To do that, we need to create a Gateway. Gateway describes a load balancer operating at the edge of the mesh receiving incoming or outgoing HTTP/TCP connections.
Let’s create an aspnetcore-gateway.yaml file:
Create the Gateway:
$ kubectl apply -f aspnetcore-gateway.yaml
gateway.networking.istio.io "aspnetcore-gateway" created
At this point, we have HTTP traffic enabled for our cluster. We need to map the Kubernetes Service we created earlier to the Gateway. We’ll do that with a VirtualService.
VirtualService
A VirtualService essentially connects a Kubernetes Service to Istio Gateway. It can also do more such as defining a set of traffic routing rules to apply when a host is addressed but we won’t get into those details.
Let’s create an aspnetcore-virtualservice.yaml file:
Notice that a VirtualService is tied to a specific Gateway and it defines a host that refers to the Kubernetes Service.
Create the VirtualService:
$ kubectl apply -f aspnetcore-virtualservice.yaml
virtualservice.networking.istio.io "aspnetcore-virtualservice" created
Test the v1 of app
We’re ready to test our app. We need to get the IP address of the Istio Ingress Gateway:
$ kubectl get svc istio-ingressgateway -n istio-system
NAME                   TYPE           CLUSTER-IP     EXTERNAL-IP
istio-ingressgateway   LoadBalancer   10.31.247.41   35.240.XX.XXX
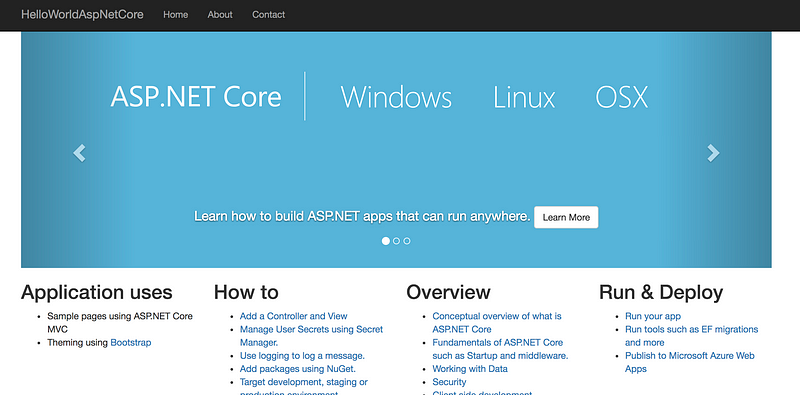
When we browser to the EXTERNAL-IP, we should see the HelloWorld ASP.NET Core app:
DestinationRule
At some point, you want to update your app to a new version. Maybe you want to split the traffic between two versions. You need to create a DestinationRule to define those versions, called subsets in Istio.
First, update aspnetcore.yaml file to define the Deployment for v2 with v2version of the container:
Create the new deployment:
$ kubectl apply -f aspnetcore.yaml
service "aspnetcore-service" unchanged
deployment.extensions "aspnetcore-v1" unchanged
deployment.extensions "aspnetcore-v2" created
If you refresh the browser with the EXTERNAL-IP , you’ll see that VirtualService rotates through v1 and v2 versions of the app:
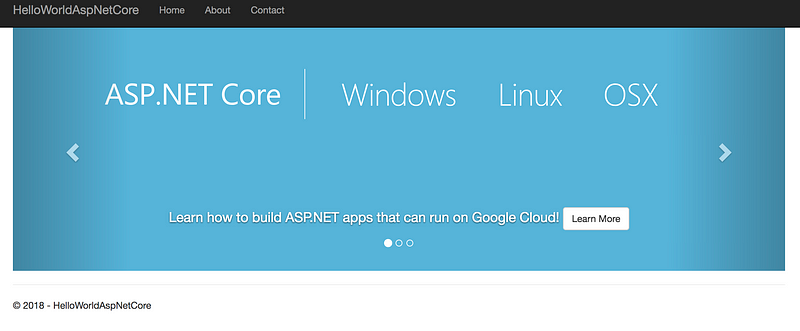
This is expected because both versions are exposed behind the same Kubernetes service:aspnetcore-service.
What if you want to pin your service to only v2? This can be done by specifying a subset in the VirtualService but we need to define those subsets first in a DestinationRules. A DestinationRule essentially maps labels to Istio subsets.
Create a aspnetcore-destinationrule.yaml file:
Create the DestinationRule:
$ kubectl apply -f aspnetcore-destinationrule.yaml
destinationrule.networking.istio.io "aspnetcore-destinationrule" created
Now, you can refer to v2 subset from VirtualService:
Update the VirtualService:
$ kubectl apply -f aspnetcore-virtualservice.yaml
virtualservice.networking.istio.io "aspnetcore-virtualservice" configured
If you browse back to theEXTERNAL-IP , you should now only see the v2 of the app.
ServiceEntry
The last thing I want to mention in Istio Routing is ServiceEntry. By default, all the external traffic in Istio is blocked. If you want to enable external traffic, you need to create a ServiceEntry to list what protocols and hosts are enabled for external traffic. I won’t show an example in this post but you can read more about it here.
Hope this was useful! If you want to know more, there is a 2-part codelab series where all of these concepts and more are explained in a step-by-step tutorial:


